
In part 1 we saw how to write a behat test. It's now time to use this knowledge to test our real-world application! Please notice that this tutorial will work with most versions of Symfony since behat is compatible with Symfony 4, 5, and 6.
The project we are going to test
The point is not to teach you how to build a Symfony project, so we are not going to do it. Instead, Symfony provides a demo app that does not contain any behat test. I suggest you take this as a base and add a functional behat test!
Let's take a new demo Symfony project:
$ symfony new --demo AppToTest
$ cd AppToTest
$ symfony serve
If you have SQLite installed, everything should be setup and running with those 3 commands. If you prefer to use MySQL or PostgreSQL, there's actually no problem, I will let you tweak the configuration the way you want.
Go to https://localhost:8000/ and you should see something like this:
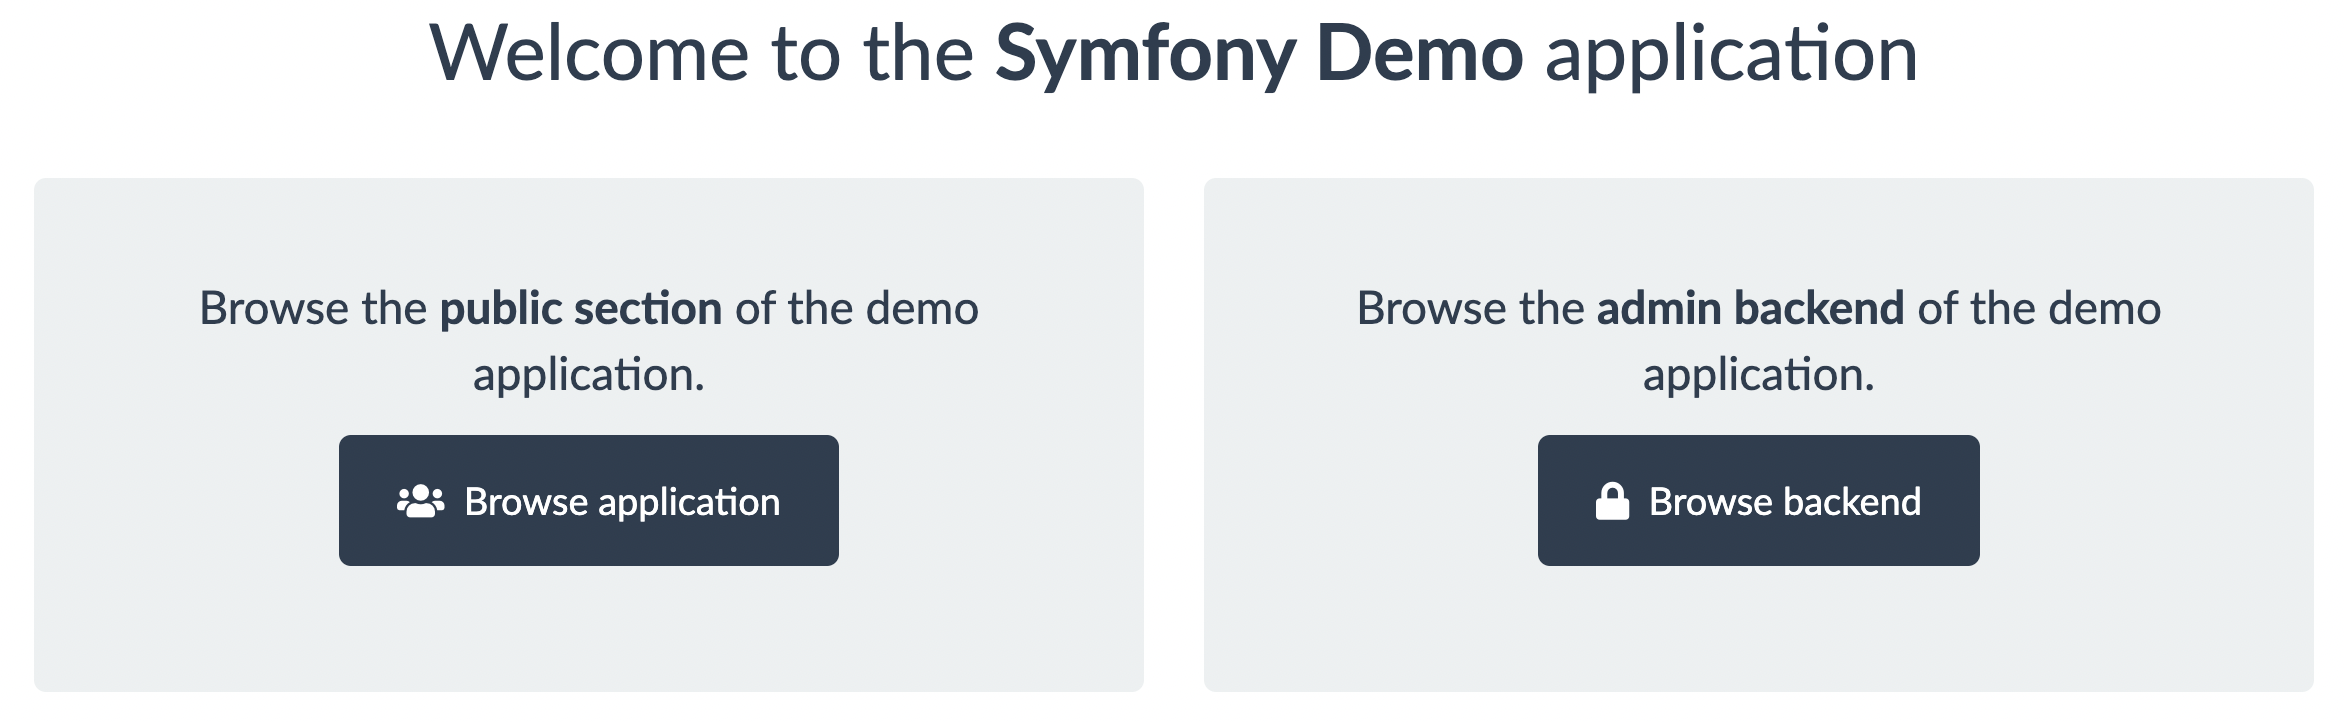
It's the homepage of the demo application of Symfony.
Something we can test with behat!
You can now shutdown the Symfony server, we don't need it to test our app for now!
The Symfony extension
To work with behat and Symfony, some tooling exists: the organization friends of behat got your back, they are maintaining this nice extension that helps to integrate behat with Symfony. Let's install it on our project:
$ composer require --dev behat/behat friends-of-behat/symfony-extensionIf you have Symfony Flex installed, this command triggered the installation of behat and the Symfony plugin but also added a bunch of config files.
behat.yml.distis the behat config file where you configure your test suite, we already had the first contact in part 1;tests/Behat/is the folder where you are going to put your behat contexts - classes that behat will execute to run your tests;config/services_test.yamlis loading the behat configuration in the test environment;featuresis the folder where you put your user stories, the actual tests.
This configuration is almost ready to go, the only thing you need to do is to configure the bootstrap.php test file (already existing in the tests folder).
# behat.yaml.dist
default:
    suites:
        default:
            contexts:
                - App\Tests\Behat\DemoContext
    extensions:
        FriendsOfBehat\SymfonyExtension:
            # Add this configuration :
            bootstrap: tests/bootstrap.php
Then you can run the command:
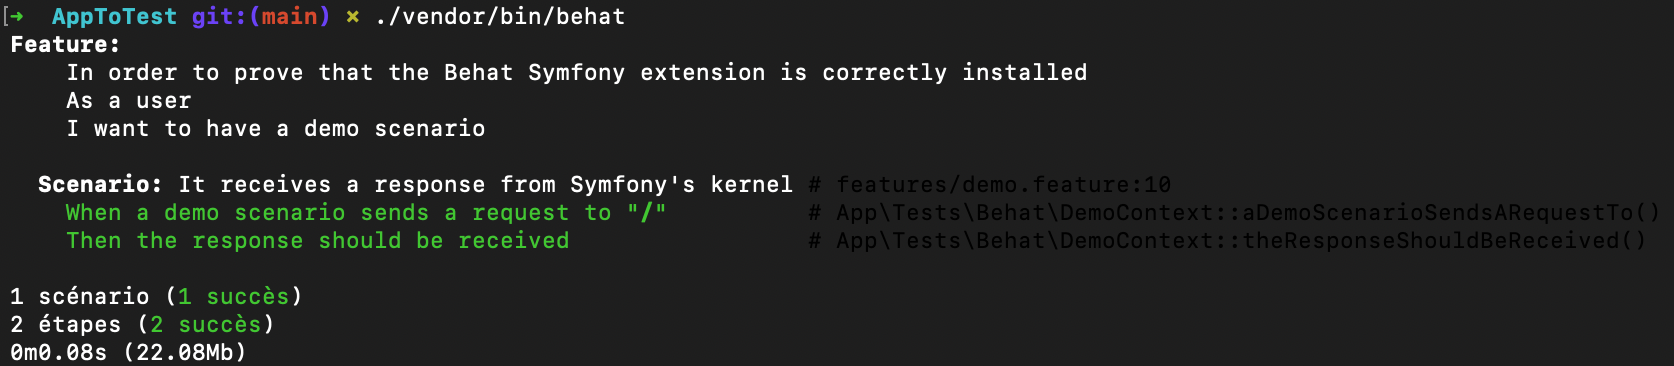
This does not test much. Open the DemoContext.php file to see how it works. This is the only actual "test" we have here:
if ($this->response === null) {
    throw new \RuntimeException('No response received');
}
Testing for real
Now that we have behat running, the point will be to really test something. We are going to improve the method theResponseShouldBeReceived and create a new one.
I suggest you to change our feature for something like this:
# features/demo.feature

Feature:
    In order to prove I can write a behat test
    As a user
    I want to test the homepage

    Scenario: I go to the homepage
        When a demo scenario sends a request to "/"
        Then the response should be received
        Then I should see the text "Welcome to the Symfony Demo application"
Tweaking the response checker to actually check
Something not done by the previous test is verifying that the page is not an error, and we can do that by simply checking if we have a 200 error or not.
It's simple, this code will do the job:
/**
 * @Then the response should be received
 */
public function theResponseShouldBeReceived(): void
{
    if ($this->response === null) {
        throw new \RuntimeException('No response received');
    }

    assert($this->response->getStatusCode() === 200);
}
I keep the previous code because why not? But it actually does not make a lot of sense and could be removed.
Testing text is on the page
Before to start, we need a new method, don't try too hard, just run behat and let it generate the code for us:
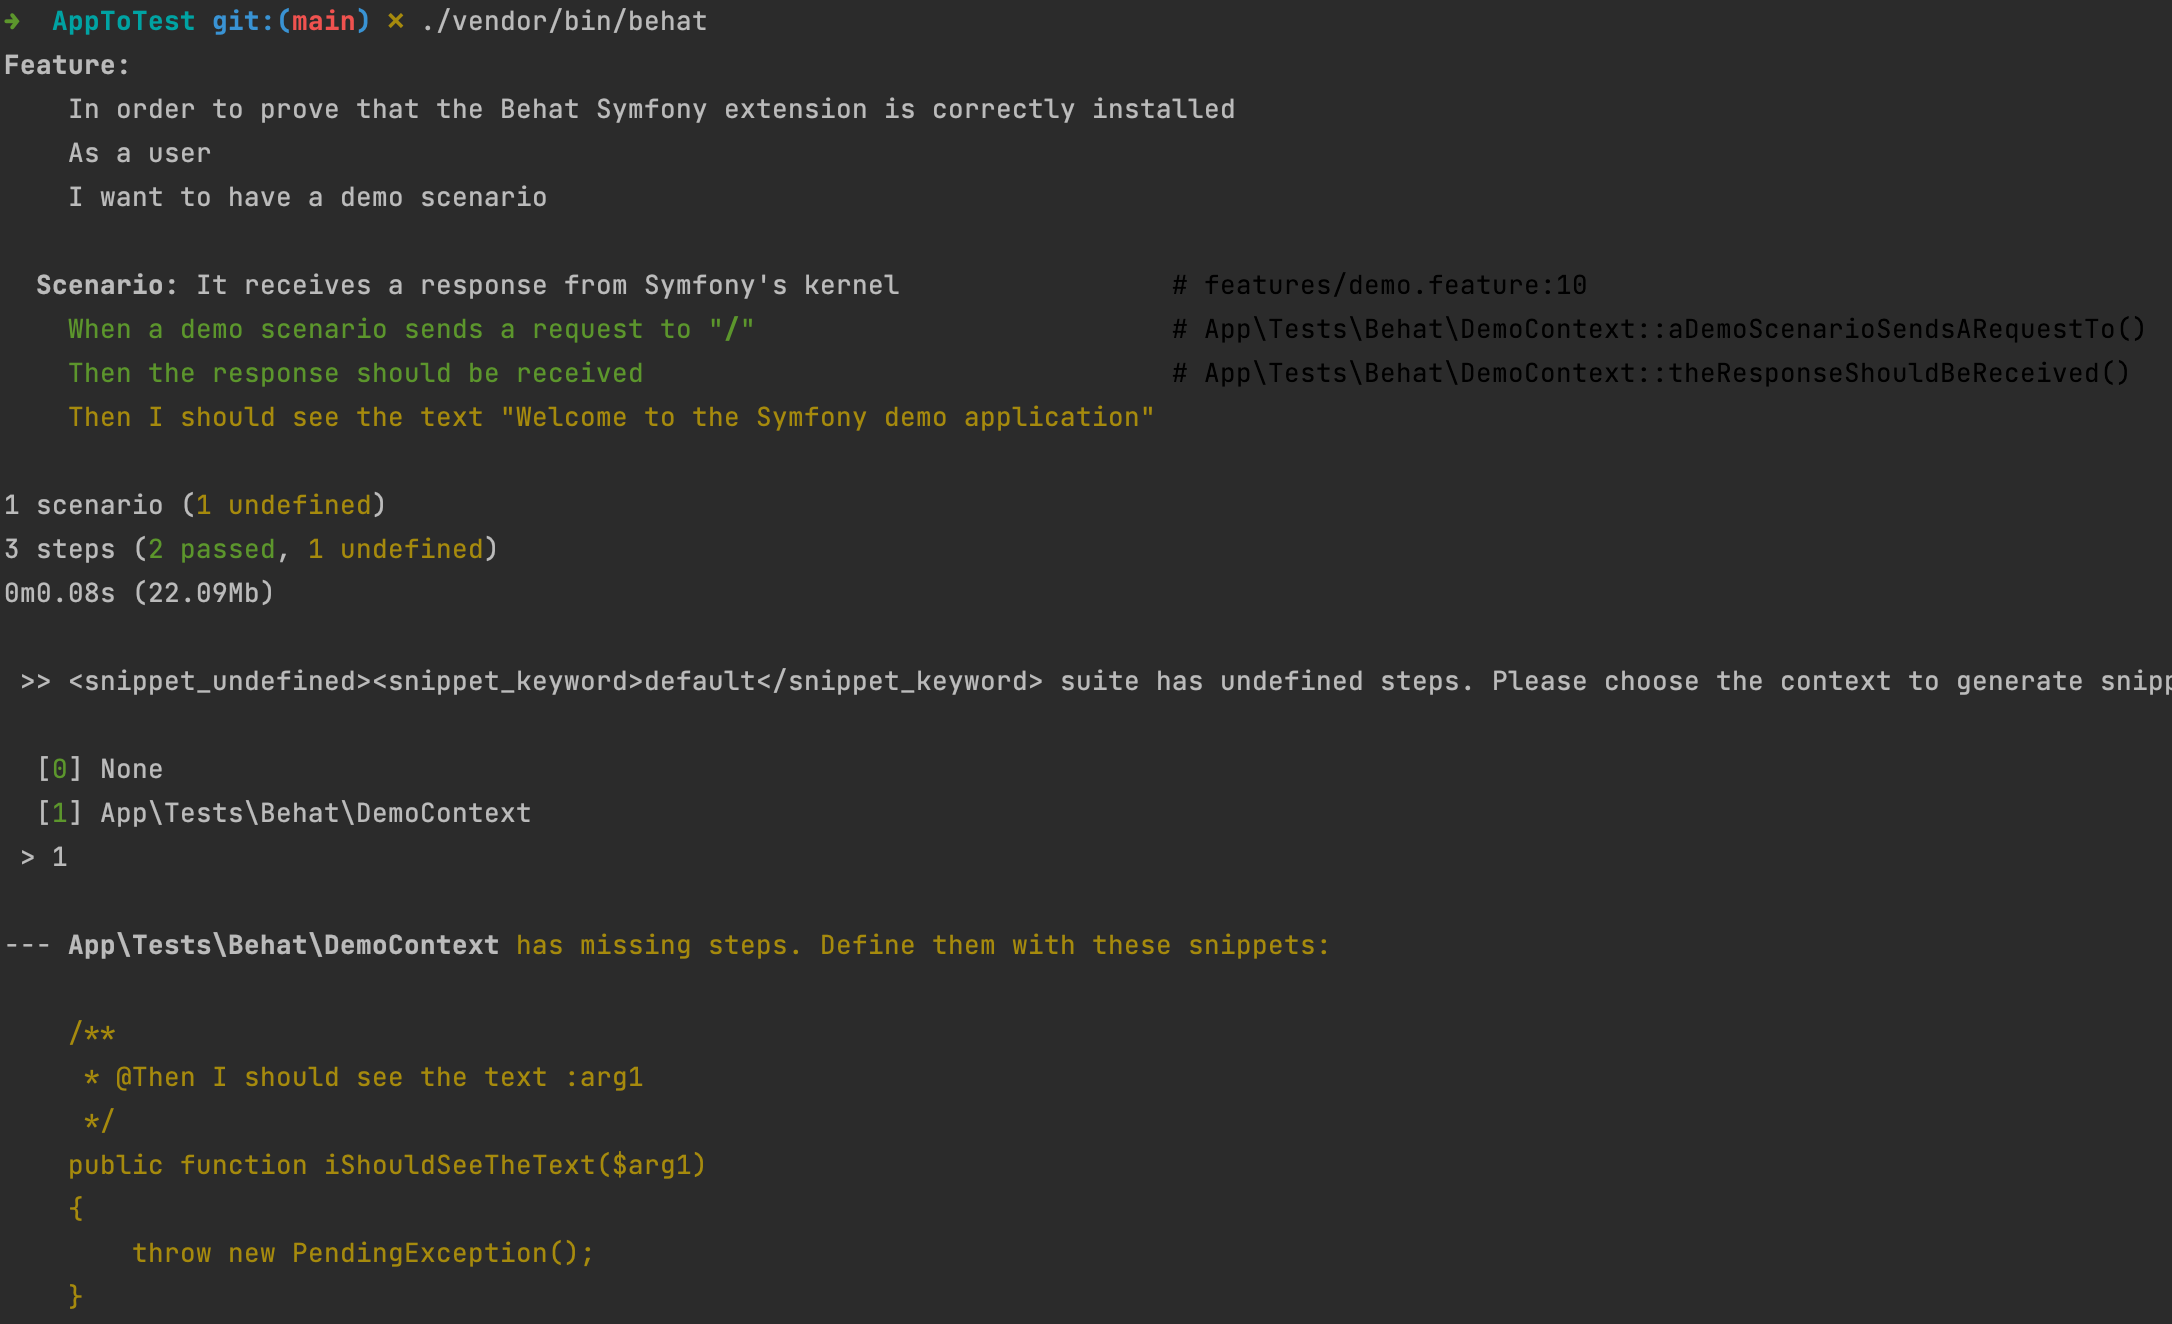
Let's make this simple:
/**
 * @Then I should see the text :text
 */
public function iShouldSeeTheText($text)
{
    // We are getting a whole HTML page and our text may have tags inside
    // strip_tags has issues, but for this example it will do the job
    $requestContentWithoutTags = strip_tags($this->response->getContent());

    if (!str_contains($requestContentWithoutTags, $text)) {
        throw new \RuntimeException("Cannot find expected text '$text'");
    }
}
Using a browser
This was definitely real-life testing. But you may want to do more, and furthermore, more easily. This is why it's possible to use a browser, I suggest you to use the Symfony default browserkit.
Rewrite our previous test with browserkit
First of all, we need to create our browser... Luckily Symfony has our back! Modify the constructor of your class to inject the client:
use Symfony\Bundle\FrameworkBundle\KernelBrowser;
use Symfony\Component\HttpKernel\KernelInterface;

final class DemoContext implements Context
{
    public function __construct(private KernelBrowser $client) {}
}
You can now rewrite tests using browserkit (use the documentation!).
/**
 * @When a demo scenario sends a request to :path
 */
public function aDemoScenarioSendsARequestTo(string $path): void
{
    // Notice that response is now an instance
    // of \Symfony\Component\DomCrawler\Crawler
    $this->response = $this->client->request('GET', $path);
}

/**
 * @Then the response should be received
 */
public function theResponseShouldBeReceived(): void
{
    assert($this->client->getResponse()->getStatusCode() === 200);
}

/**
 * @Then I should see the text :text
 */
public function iShouldSeeTheText($text)
{
    if (!str_contains($this->response->text(), $text)) {
        throw new \RuntimeException("Cannot find expected text '$text'");
    }
}Some things to notice here:
- The response is now a Crawler;
- The last actual response is stored inside the client;
- We do not need to make any trick to retrieve the text, the crawler does it for us!
Update your tests, run the test suite, and see how it works well. 🙂
Use the browser to navigate
We have a (fake) browser! We can now navigate throw pages! Let's start by clicking the first link. I suggest you the following scenario (which already exists in the Symfony demo project):
    Scenario: I navigate to Symfony demo
        Given I navigate to "/"
        When I click on "Browse application"
        Then I should see the text "Symfony Demo"
You may notice here that I reuse an old sentence (so nothing to do with the last one), and another one is really similar to another. Let's reuse our previous function:
/**
 * @Given I navigate to :path
 * @When a demo scenario sends a request to :path
 */
public function aDemoScenarioSendsARequestTo(string $path): void
{
    // Notice that response is now an instance
    // of \Symfony\Component\DomCrawler\Crawler
    $this->response = $this->client->request('GET', $path);
}
After this modification:
- I run behat
- I copy/paste the code behat generates to my behat context
- I use the method
clickLinkof the crawler
/**
 * @When I click on :link
 */
public function iClickOn($link)
{
    $this->response = $this->client->clickLink($link);
}
This is it! You navigate through pages with a behat test!
Testing forms: manage data with behat
The crawler we saw previously fills forms easily and it's documented by Symfony. But this also means that we will start to mess with data... And in the Symfony demo project also with login!
ℹ️ There are many ways to achieve a good database test. I want my test suite to be fast and reliable so I clear my database at each test and in the most efficient way regarding tools I can use. Here I will use directly the database file but with PostgreSQL or MariaDB I use the ORMPurger of Doctrine. Feel free to do it your way.
So let's consider that scenario:
    @database
    Scenario: I comment a post
        Given I am logged in as a user
        And I navigate on a post
        When I fill a comment with "Some random words"
        Then the post should have a new comment
        And I should see the text "Some random words"
We have never seen the tag syntax until now, it's used to add a special action on several tests.
Reset and restore database
Behat allows you to use special methods that hook before and after any scenario. I will use this feature to:
- Save the database in a special location before the test suite;
- Reset data on each scenario;
- Drop the fake database after the test suite is done.
For this, I will use a new behat context, let's call it DataManagementContext. Behat read annotations such as BeforeSuite, AfterScenario or AfterSuite to know when to run our methods. Beware some methods are static or not depending on the type of the event.
class DataManagementContext implements Context
{
    private static ?Filesystem $filesystem = null;
    private const DATABASE_LOCATION = __DIR__ . '/../../data/database_test.sqlite';
    private const DATABASE_LOCATION_COPY = __DIR__ . '/../../data/database_test.sqlite.original';

    public function __construct(private KernelInterface $kernel) {}

    /**
     * @BeforeSuite
     */
    public static function saveTestDatabase(BeforeSuiteScope $scope): void
    {
        $filesystem = self::getFilesystem();
        $filesystem->copy(
            self::DATABASE_LOCATION,
            self::DATABASE_LOCATION_COPY
        );
    }

    /**
     * @AfterSuite
     */
    public static function removeCopiedDatabase(AfterSuiteScope $scope): void
    {
        $filesystem = self::getFilesystem();
        $filesystem->copy(
            self::DATABASE_LOCATION,
            self::DATABASE_LOCATION_COPY
        );
    }

    /**
     * @AfterScenario @database
     */
    public function resetDatabase(): void
    {
        $filesystem = self::getFilesystem();
        $filesystem->remove(self::DATABASE_LOCATION);
        $filesystem->copy(
            self::DATABASE_LOCATION_COPY,
            self::DATABASE_LOCATION
        );
    }

    private static function getFilesystem(): Filesystem
    {
        if (self::$filesystem !== null) {
            return self::$filesystem;
        }

        return self::$filesystem = new Filesystem();
    }
}
In this code, you may see I specified that this hook will execute only on @database tagged scenarios.
Do not forget to add the context to the behat configuration:
default:
    suites:
        default:
            contexts:
                - App\Tests\Behat\DemoContext
                - App\Tests\Behat\DataManagementContext
Faking a connection
Is it possible to log in manually via the login form? Yes.
But as I told you just before, I want my tests to be fast. Login manually on each scenario is not an option.
Luckily the client has a feature allowing us to log in easily. We just need to get the user, and for that, I will use the user repository.
public function __construct(
    private KernelBrowser $client,
    private UserRepository $userRepository
) {}

/**
 * @Given I am logged in as a user
 */
public function iAmLoggedInAsAUser()
{
    $user = $this->userRepository->findOneBy(['username' => 'john_user']);
    $this->client->loginUser($user);
}
ℹ️️ You can use the UserRepository directly from the constructor because it's defined as a service in this project and because the service_test.yaml file generated at install time registers our contexts in the DIC, nothing is magic, it's just great stuff.
Getting a post and go on its page
It's not the case here so I could just select an article and go on its page, but you may have fixture-generated data for your test. So the article slug may change on each test execution. The following code will work no matter the data are different on each new test or not:
/**
 * @Given I navigate on a post
 */
public function iNavigateOnAPost()
{
    $this->post = $this->postRepository->findAll()[0];
    $this->aDemoScenarioSendsARequestTo(
        '/en/blog/posts/'.$this->post->getSlug()
    );
}
Filling the form
It's actually well documented and super easy:
/**
 * @When I fill a comment with :content
 */
public function iFillACommentWith($content)
{
    $this->response = $this->client->submitForm('Publish comment', [
        'comment[content]' => $content,
    ]);
    $this->response = $this->client->followRedirect();
}
There is however a redirection to follow after the comment is posted.
Count the difference in comments before/after
It's maybe the most tricky part. We need to store the number of comments before and verify after. But in the meantime, we need to refresh the data we gather from the database previously.
An update of the previous method is required :
/**
 * @Given I navigate on a post
 */
public function iNavigateOnAPost()
{
    $this->post = $this->postRepository->findAll()[0];

    // Not storing it is fine, we just need to load the data
    $this->post->getComments()->count();

    $this->aDemoScenarioSendsARequestTo('/en/blog/posts/'.$this->post->getSlug());
}
Once again, there are many ways to do it, but I choose here to just load the result in the first step and then to compare:
/**
 * @Then the post should have a new comment
 */
public function theArticleShouldHaveANewComment()
{
    $previousCount = $this->post->getComments()->count();

    // Re-loading the post with fresh data
    $this->post = $this->postRepository->findAll()[0];

    $currentCount = $this->post->getComments()->count();

    assert($previousCount+1 === $currentCount);
}
That's all for now!
You may now feel that the DemoContext contains too much code, and you are right! Feel free to add as many contexts as you need.
Do you want to write tests in your own language? Some of you probably think about sharing features with the rest of your team. And I can already tell you some of us are already using features directly from the product owner since the gherkin language is super-similar to user stories format.
So yes, you can absolutely write features in your language if you want to. It's documented on the website of behat.
One last thing: behat is often used to make documentation because it tests and explains the case at the same time. For example, you may want to read features of Sylius or simply features of the Symfony Extension of behat. 😉
Follow us on Twitter! https://twitter.com/swagdotind