Send your DNS requests over HTTPS, improve your privacy and protect yourself from potential dns poisoning.
You probably know what is a DNS, but you might not know about DoH (DNS over HTTPS) or DoT (DNS over TLS) yet. In this article, we will be focusing on DoH, what are the pros and cons, and how to set it up on macOS.
What's so great about DoH?
First, a quick recap: DNS runs on the port 53 in cleartext and over UDP. Therefore, your internet provider can see all the dns requests and thus, your browsing history. On top of that, your dns requests can get poisoned and you might encounter dns censorship.
Running DNS within https ensures your internet provider doesn't get to see your dns traffic anymore. No more cleartext DNS!
Let's setup DoH on macOS
In this tutorial, we are going to use dnscrypt on macOS. There are other alternatives out there such as cloudflared or warp, but dnscrypt has multiple advantages over the alternatives:
- Support for more protocols. Standard DoH is supported, but also its own dnscrypt protocol. A list of supported servers can be found here.
- Better handling of network switches. Whenever you switch from WiFi to LAN, or when you turn on your VPN, other software like cloudflared will take a minute to adjust, whereas dnscrypt instantly switches networks.
- Performance footprint is very minimal.
Step 1: using brew, install the dnscrypt-proxy package
brew install dnscrypt-proxyStep 2: review the configuration. I personally use the following configuration:
nano /opt/homebrew/etc/dnscrypt-proxy.toml
##############################################
#        dnscrypt-proxy configuration        #
##############################################
server_names = ['google', 'cloudflare']
Yes, this is it. There are many examples provided in the .toml file but this is what I went with. Only one single line of configuration is needed!
Step 3: run the dnscrypt-proxy in the background and install a permanent service.
brew services start dnscrypt-proxyYou might need to re-run the command using sudo depending your macOS version. This comand will start the dnscrypt-proxy service in the background and it will install a service to run dnscrypt-proxy every time your Mac boots. A popup might appear asking you to confirm this is what you want.
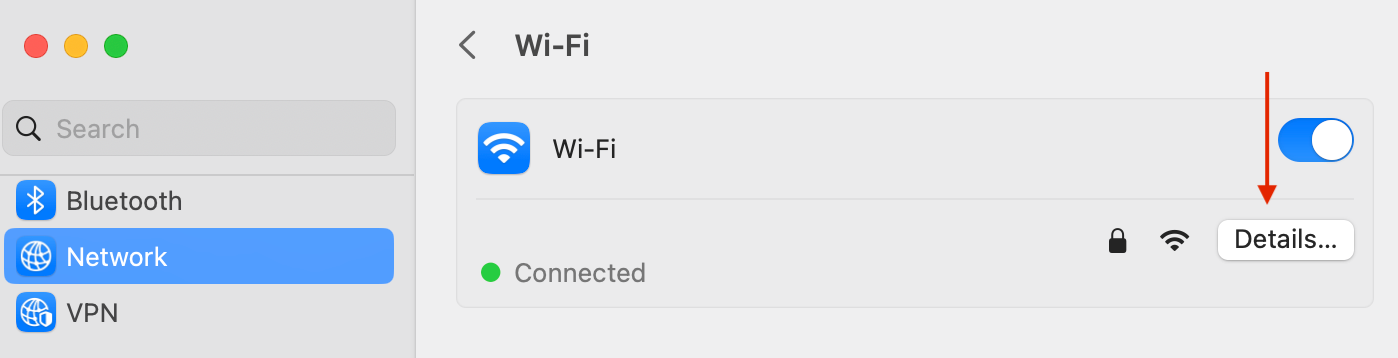
step 4: tell your computer to use your local DNS server.
Method A: set your DNS directly from the command line. Only works with WiFi.
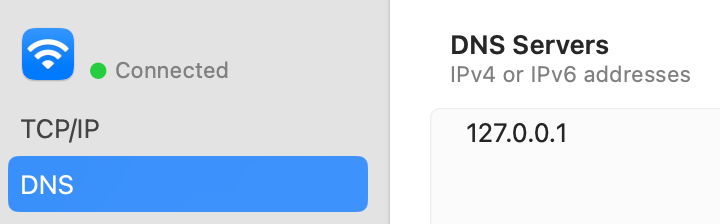
networksetup -setdnsservers Wi-Fi 127.0.0.1Method B: set your DNS from the System Settings, works with every interface.
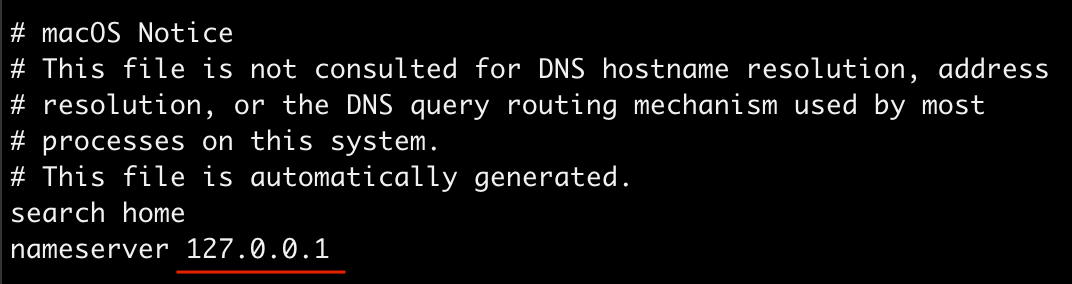
Bravo! Every time an app needs to perform a dns lookup, your computer will either reach https://1.1.1.1 or https://8.8.8.8 using a local resolver running in the background of your computer.